- Support and Updates of Ubuntu 18.04 LTS for next 5 Years (April 2023)
- New latest and stable Linux Kernel version 4.15
- Installer offers a new option of “minimal Installation”
- Updated LibreOffice 6.0
- The Bionic Beaver supports attractive and beautiful colour emojis
- 18.04 LTS also comes with a new Suru icon theme that will make your desktop much more colourful
- Updated GNOME (3.28) desktop environment
- XORG is the new default display server and replaces Wayland
- Fast and improved boot speed
- Along with other major improvements and bug fixes
Download Ubuntu 16.04 Server ISO from the Ubuntu official website.
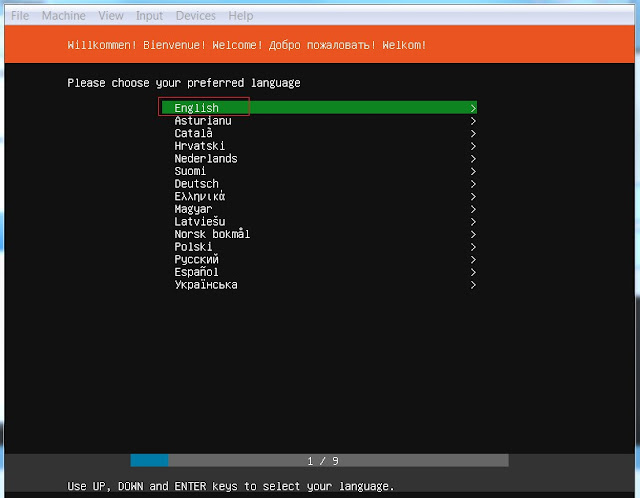
- Choose your preferred language
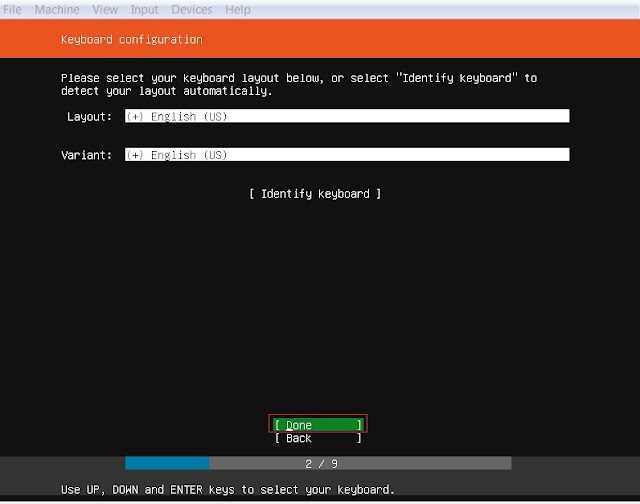
- Select Keyboard layout.
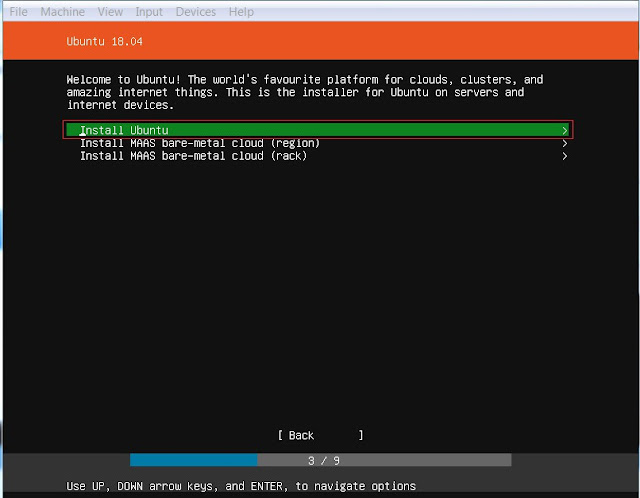
- Select Install Ubuntu
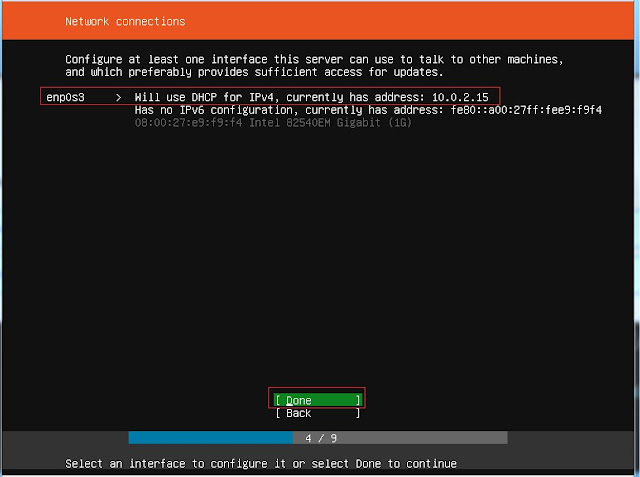
- Choose Network configuration type- I'm using DHCP to obtain IP address automatically
- Leave proxy setting blank and choose next

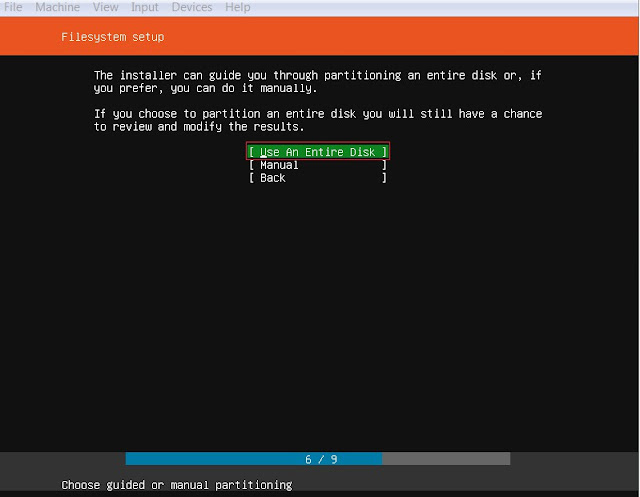
- Choose Partition configuration type, or to make it easy select use an entire disk
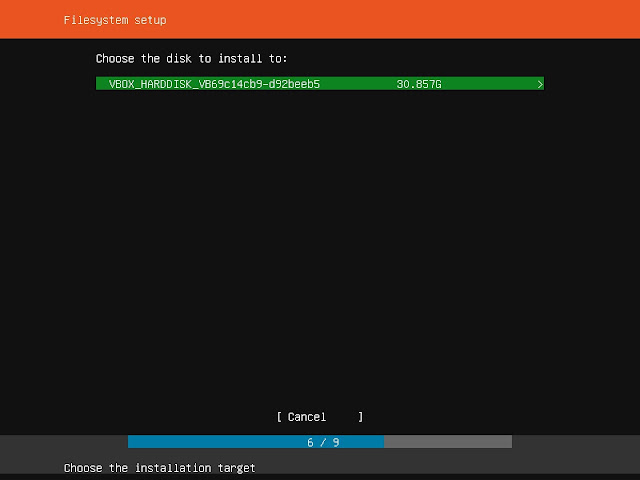
- Select the disk and click next
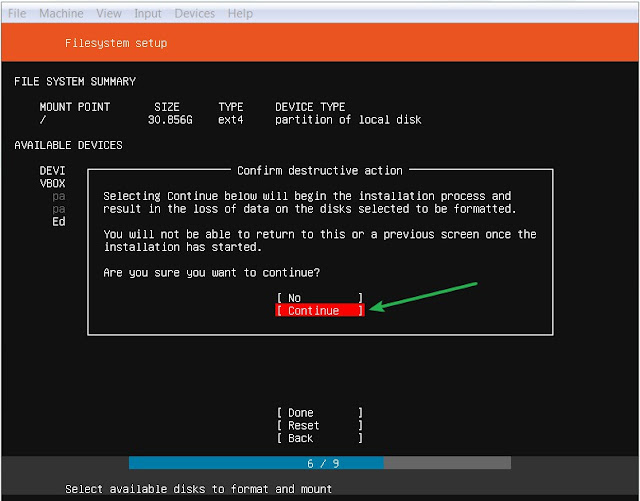
- Choose partition configuration type, in my case I'm using default filesystem type.
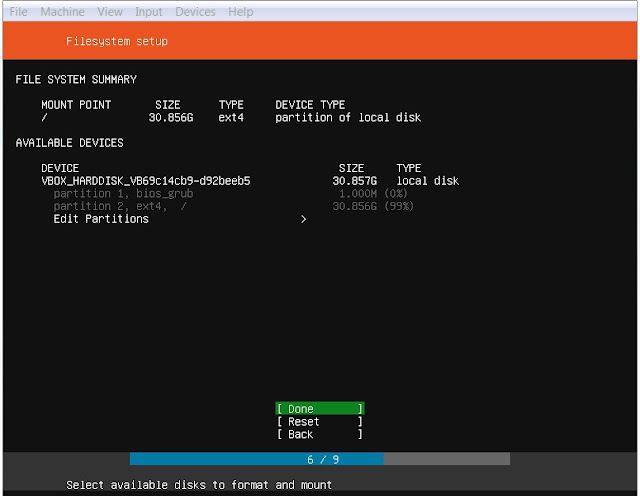
- Click on continue to make the partition changes.
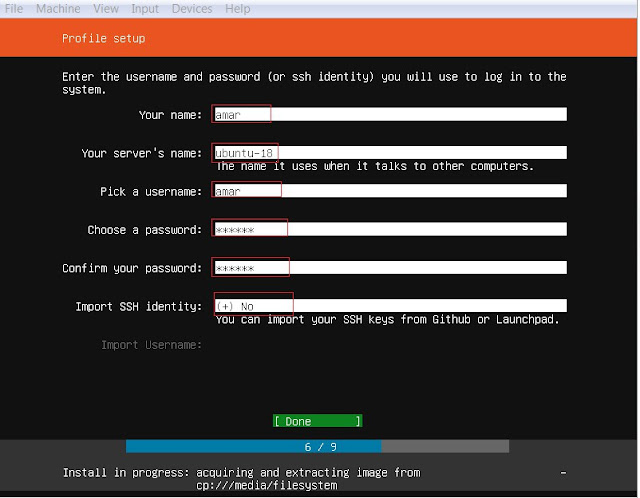
- Fill up the basic information i.e. User, Hostname, Password etc.
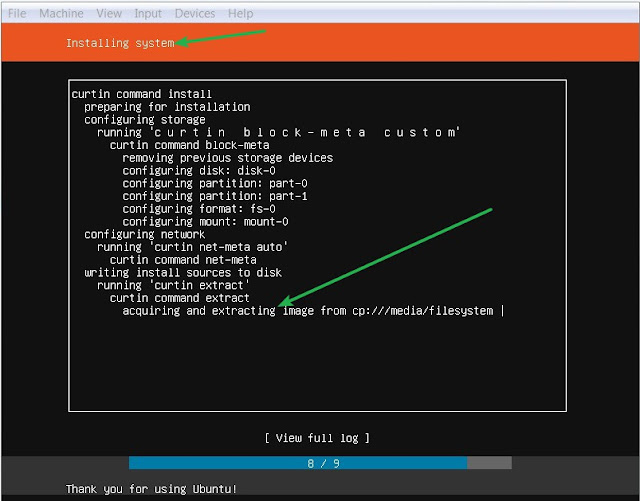
- Once you choose done, Your Ubuntu server installation will start. Wait some time until installation finished.
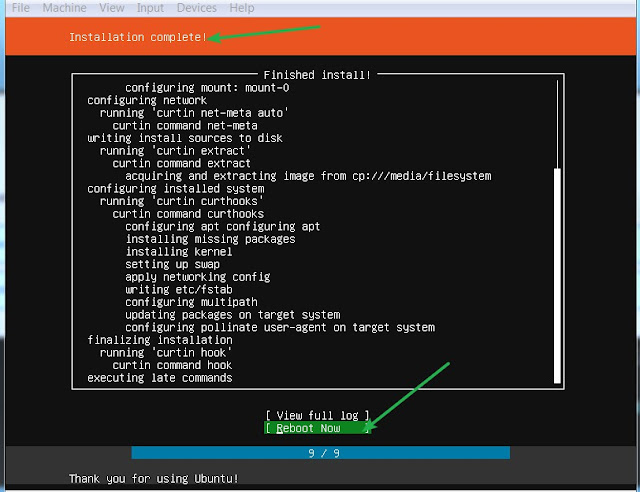
- After complete installation, choose reboot option to finish and start Server .
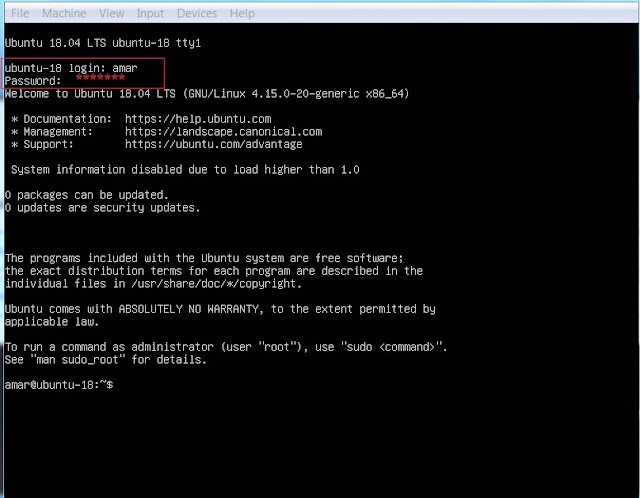
- After reboot, enter your login detail and start work.
- Your Ubuntu 16.04 LTS server installation done successfully.
!!Cheers!!
No comments:
Post a Comment