AWS CLI or Amazon Web Service Command Line Interface is a command line tool for managing and administering your Amazon Web Services. AWS CLI provides direct access to the public API (Application Programming Interface) of Amazon Web Services. Since it’s a command line tool, you can also use it to create scripts for automating your Amazon Web Services.

Prerequisites:

Step 2- Install AWS CLI:
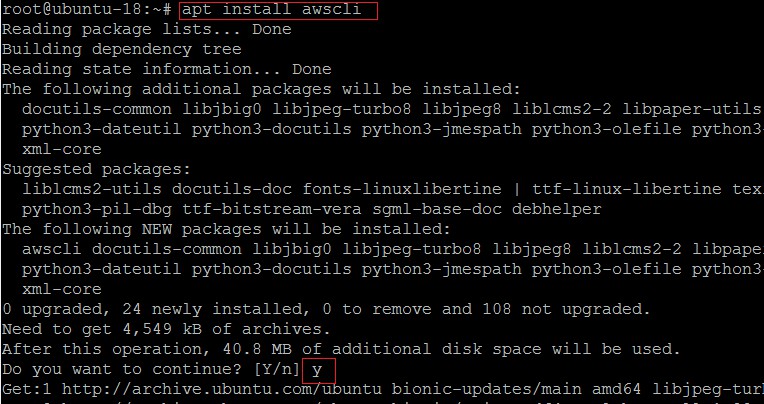
AWS CLI available in Ubuntu official repository, Run the following command to start AWS CLI installation.
Press Y during the installation when it prompt.
 Once the installation is done, run the following command to check the installed version.
 AWS CLI Version 1.14.44 has been installed with Python-3.6 version.
Step 3- Configure AWS CLI:

Prerequisites:
- Ubuntu 18.04 box
- A User with sudo access
Step 1- Update packages repository:
In order to start the installation of AWS CLI, First, update repositories' metadata followed by the commands below.

Step 2- Install AWS CLI:


Step 3- Configure AWS CLI:
After successful installation of AWS CLI, Let's configure our credentials to execute and manage our AWS resources using CLI.
After running the command "aws configure" enter AWS Access Key, Secret Key, Default region and default output.
Step 4- Test AWS CLI & Access:
Let's test our AWS CLI configuration by running the following commands.
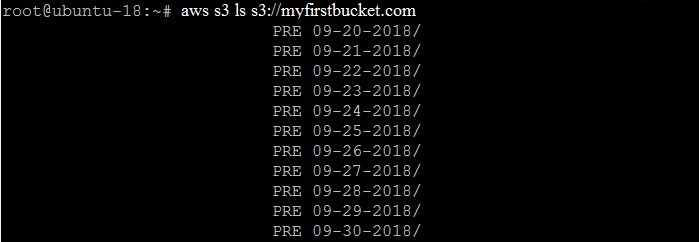
List S3 buckets:
All subfolders are listing from my bucket.
 AWS CLI working as expected. Now you can configure the commands as per your requirement.
Stop EC2 Instance:
In the above command change your Instance ID and run the command. I will stop your instance.
Start EC2 Instance:
Using the above command you can easily start your instance.
Thank you for reading my blog, Please leave your comments to make it better!!
After running the command "aws configure" enter AWS Access Key, Secret Key, Default region and default output.
Step 4- Test AWS CLI & Access:
Let's test our AWS CLI configuration by running the following commands.
List S3 buckets:
All subfolders are listing from my bucket.
 AWS CLI working as expected. Now you can configure the commands as per your requirement.
 Stop EC2 Instance:
In the above command change your Instance ID and run the command. I will stop your instance.
Start EC2 Instance:
Using the above command you can easily start your instance.
Thank you for reading my blog, Please leave your comments to make it better!!
Thanks for your informative blog!!! Keep on updating your with such awesome information.
ReplyDeleteAWS Online Training
The article was absolutely fantastic! Lot of great information which can be helpful in some or the other way. Keep updating the blog, looking forward for more contents.
ReplyDeleteBy Cognex offers AWS Training in chennai
Unified communications and Ip Pbx includes the connection of various communication systems both for the collaboration tools as the digital workforce.
ReplyDelete