SonarQube- It is an Opensource tool that assists us in code quality analysis and reporting.
The SonarQube tool consists of two sub-applications: an analysis engine, which is installed locally on the developer's machine, and a centralized server for record-keeping and reporting. A single SonarQube server instance can support multiple scanners, enabling you to centralize code quality reports from many developers in a single place.
In this blog, I'm going to explain how to install and configure Sonar Qube server and Scanner with Jenkins integration.
Prerequisites:
- Ubuntu VM
- A user with sudo access
- Installed LAMP
Please follow my previous blog for step by step installation of Jenkins.
Follow this URL:- https://linuxhowtoguide.blogspot.com/2018/09/how-to-install-jenkins-on-ubuntu-1604.html
Step 2- Preparing for the install:
There are few steps that we need to complete before installing SonarQube Server and scanner. let's follow them.
2A- Create SonarQube user:
We will use this user to run Sonar Service only and disabled server login.
Next, create a directory that will keep Sonar Server.
Now, Change the permission of this Directory and make Sonar user owner.
2B- Create a MySQL database:
We need a database and credentials that SonarQube will use.
Create a database:
Let's create user and grant permission on the above database.
Apply changes and exit from the MySQL.
Step 3- Download and install Sonar Qube Server:
Change your directory:
Download latest SonarQube server from the official sites.
Unzip downloaded.
Change folder ownership:
SonarQube Server is ready to configure.
Step 4- Configure SonarQube Server
We'll need to edit a few things in the SonarQube configuration file. Namely:- We need to specify the username and password that the SonarQube server will use for the database connection.
- We also need to tell SonarQube to use MySQL for our backend database.
- We'll tell SonarQube to run in server mode, which will yield improved performance.
- We'll also tell SonarQube to only listen on the local network address since we will be using a reverse proxy.
modify the following lines and update MySQL login details.
Next, tell SonarQube to use MySQL and enable the driver.
Save and close the file.
Step 5- Configure SonarQube service.
Create Service file and add the following line into it.
Add the following lines.
Save and close the file then start sonarQube service
Step 6- Configure the reverse proxy :
Now that we've got SonarQube service is running and listing default port 9000. let's setup Apache reverse proxy and create a URL to access from the outside.
Create a virtual host
add the following lines:
Save and close the file
Enable VirtualHost
Let's test apache configuration file.
If you see an error then fix them if out is ok restart apache.
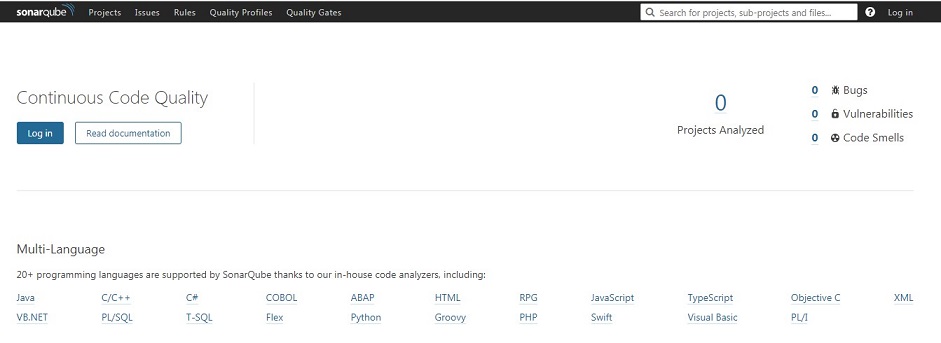
Browse your URL (http://sonarqubedomain.com) to test SonarQube console from the outside.
Default User and password is admin
Step 7- Setup SonarQube code Scanner:
SonarQube Scanner is separate package that you can install on the separate machine and integrate with SonarQube Server. But in my case, I'm going to install the scanner on the same server. let's follow the steps.
Create a directory that will hold Sonar Scanner and cd to the directory.
Next, Download the Scanner code.
Unzip code
Let's modify settings and tell Scanner to use Sonar Server url to store the results.
Add Sonar Server URL:
Make Sonar scanner executable
Step 7- Setup SonarQube Server and scanner in Jenkins:
Open Jenkins and follow the steps below for integration:
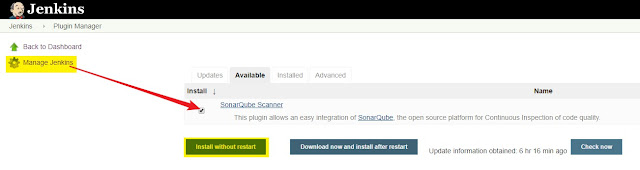
- Install the SonarQube plugin:
Manage Jenkins > Manage Plugins > Search "SonarQube Scanner" > Select and install
After installation
- let's enable configuration.
Go to > Manage Jenkins > Configure System > go to SonarQube Servers list
add following details:

Apply > Save your chages.
SonarQube Server configuration has enabled.
- let's enable SonarQube Scanner setting.
Go to > Manage Jenkins > Configure Tool configuration >
Add Sonar Scanner path directory as in below picture:
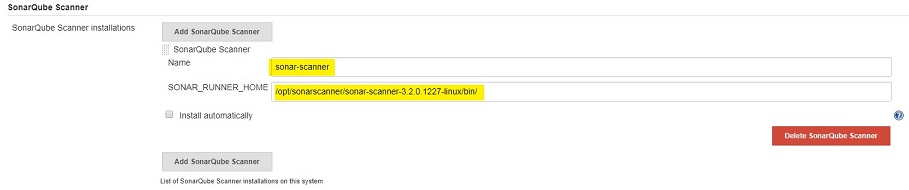
Apply & Save your changes.
Now you can use Sonnar Scanner in your project and review the result on Sonnar console.
SonarQube Server & Scanner installation and Jenkins integration completed successfully.
Great insights! I really appreciate how clearly you’ve outlined the topic. Your post has provided some valuable clarity. Thanks for sharing!
ReplyDeleteChatGPT said:
ReplyDeleteThis NAPS2 quick guide explains how to install and configure SonarQube Server and Scanner on Ubuntu, then integrate it with Jenkins for streamlined code quality analysis. It covers everything from setting up users and databases to reverse proxy and Jenkins plugin configuration for efficient CI/CD workflows.