Jenkins- Jenkins offers a simple way to set up a continuous integration and continuous delivery environment for almost any combination of language and source code repositories using pipelines, as well as automating other tasks.


Jenkins Installation - Jenkins installation is very easy, Simple run the installer file and follow the steps to complete the installation.
Step 1- Download installer file from the official Jenkins website - http://mirrors.jenkins-ci.org/windows-stable/latest
Once download finish, Run the installer file and follow the steps.
Press Next to finish the installation
Afte finish the installation, let's follow the steps below to setup initial settings.
Step 2- Initial setup configuration.
Open the following URL - http://localhost:8080/login?from=%2F
You Will be redirected to the following page.
Step 3- Enter default Admin password.
Get the current administrator password from this location and paste at the first when windows when asked.
C:\Program Files (x86)\Jenkins\secrets\initialAdminPassword
Paste the password and click on next to continue.
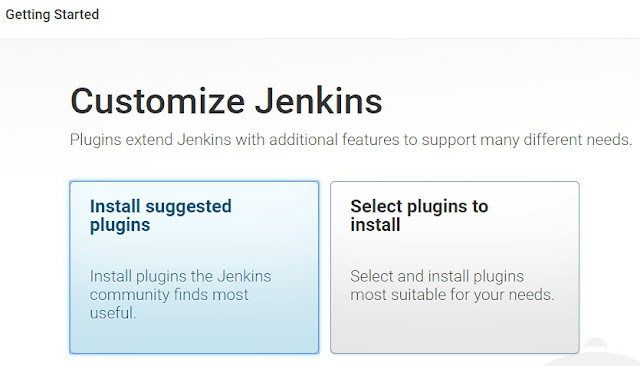
On the next windows, select install suggested plugins
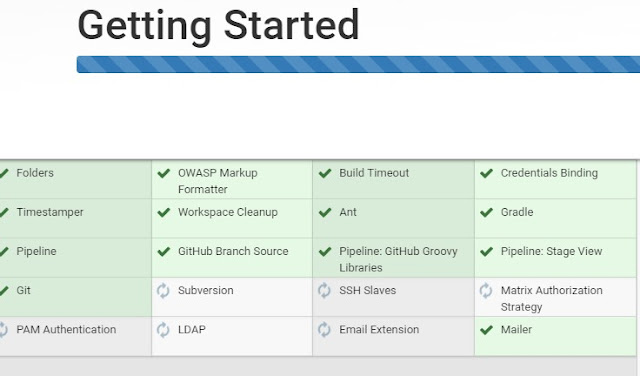
Let's have a cup of tea until suggested plugins installation gets finished.
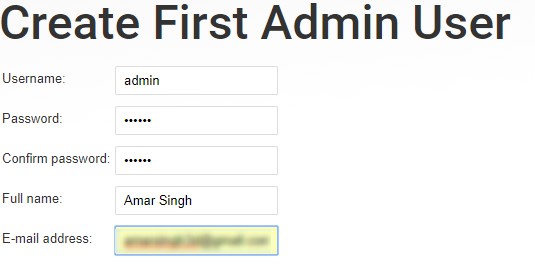
Step 4- Create first Admin account.
Enter the user's details, Click save and continue.
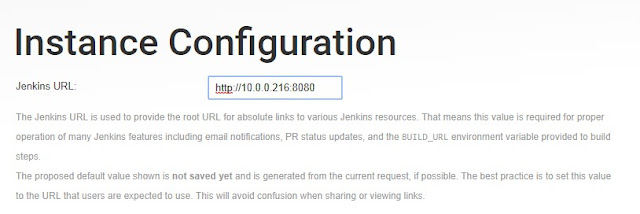
Step 5- Configure Jenkins default URL-
Enter the desired domain name or IP address to setup Jenkins URL.
Click on SAVE and Finish.
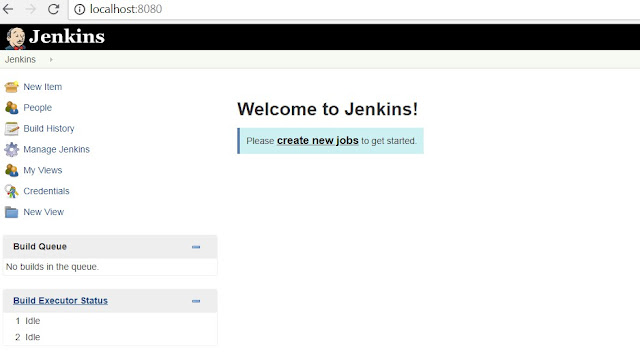
Over next page, click start using Jenkins. Jenkins Windows instance installation and initial configuration part completed successfully.
Jenkins is ready to set up jobs and automate your work.
No comments:
Post a Comment